The Ultimate Guide to Spring Cleaning
Safety first! In all instances, before you begin cleaning it, ensure your appliance is unplugged from the mains; moreover, that these elements do not get wet in the process.
Our manufacturers build their appliances to last; this is why so many of them offer guarantees of up to 5 years when you purchase a new appliance. However, with a dedicated effort to conduct a little maintenance on them, you can prolong the lifespan of your product even further, keeping it running efficiently, and saving you money.
In all instances, we recommend referring to the manufacturer’s guidelines before spring cleaning any of your home appliances.
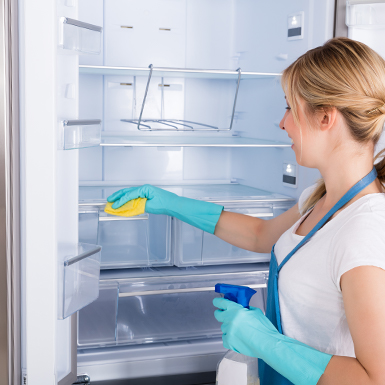
Cleaning Fridge Freezers, Larder Fridges & Freezers
Read our guide on how to deep clean your refrigeration appliances here. Before you proceed, we’d always advise you to refer to the manufacturers as a good point of reference, prior to Spring cleaning your refrigeration appliances.
- Buyer’s Guide
- Need a new appliance? Shop models from your favourite manufacturers online for distribution via our network of independent Euronics Agents.
- Buyer’s Guide
- Need a new appliance? Shop models from your favourite manufacturers online for distribution via our network of independent Euronics Agents.
- Buyer’s Guide
- Need a new appliance? Shop models from your favourite manufacturers online for distribution via our network of independent Euronics Agents.
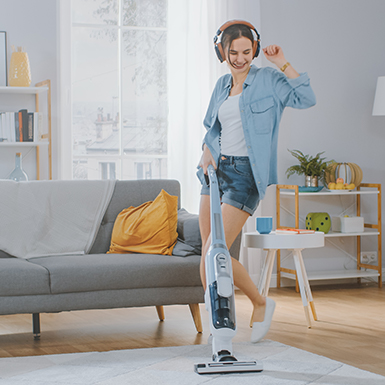
How to Spring Clean your Floorcare Appliances
In 2008, the University of Arizona tested multiple vacuums and their brushes and what they found would make anyone reconsider sweeping again! Of the 50 models tested 50% contained faecal bacteria, 13% contained E. coli, and each and every single vacuum tested contained mould. In short, if left uncleaned your vacuum could be emitting a variety of human derived bacteria, and the effect of dust and mould on those who already have allergies is tenfold.
Fear not, the following steps will have your vacuum sanitised and ready for action in no time!
- After every use! Clean the brushes & bristles: Check for any loose debris and remove. If hair or string has become tangled around the brush, don’t pull it out, instead cut it off carefully with scissors. Finally, spray the brushes with disinfectant.
- After every use! Empty the vacuum canister: We’d rather not keep a canister filled with dirt and bacteria stored in our cupboards, so we’d advise emptying this after every use.
- Around once a month, clean the filters: Referring to your manufacturers guidelines if needed, locate the filters and carefully remove. Run them under a running tap and leave to dry fully before replacing back to their rightful home.
- Every 12-18 months, the big clean: See this as a service for your vacuum! Referring to the manufacturer’s guidelines, take apart your vacuum and clean using hot water and washing up liquid. Ensure each part is fully dry. You can use a canister of compressed air to get into any hard to reach nooks or crannies before putting back together.
- Need a new vacuum for your home? Shop models from your favourite manufacturers online for distribution via our network of independent Euronics Agents.
- Looking for a guide to Vacuums? Our Buyer’s Guide should help point you in the right direction as to what options are available.
- https://www.realsimple.com/home-organizing/cleaning/how-to-clean-vacuum

